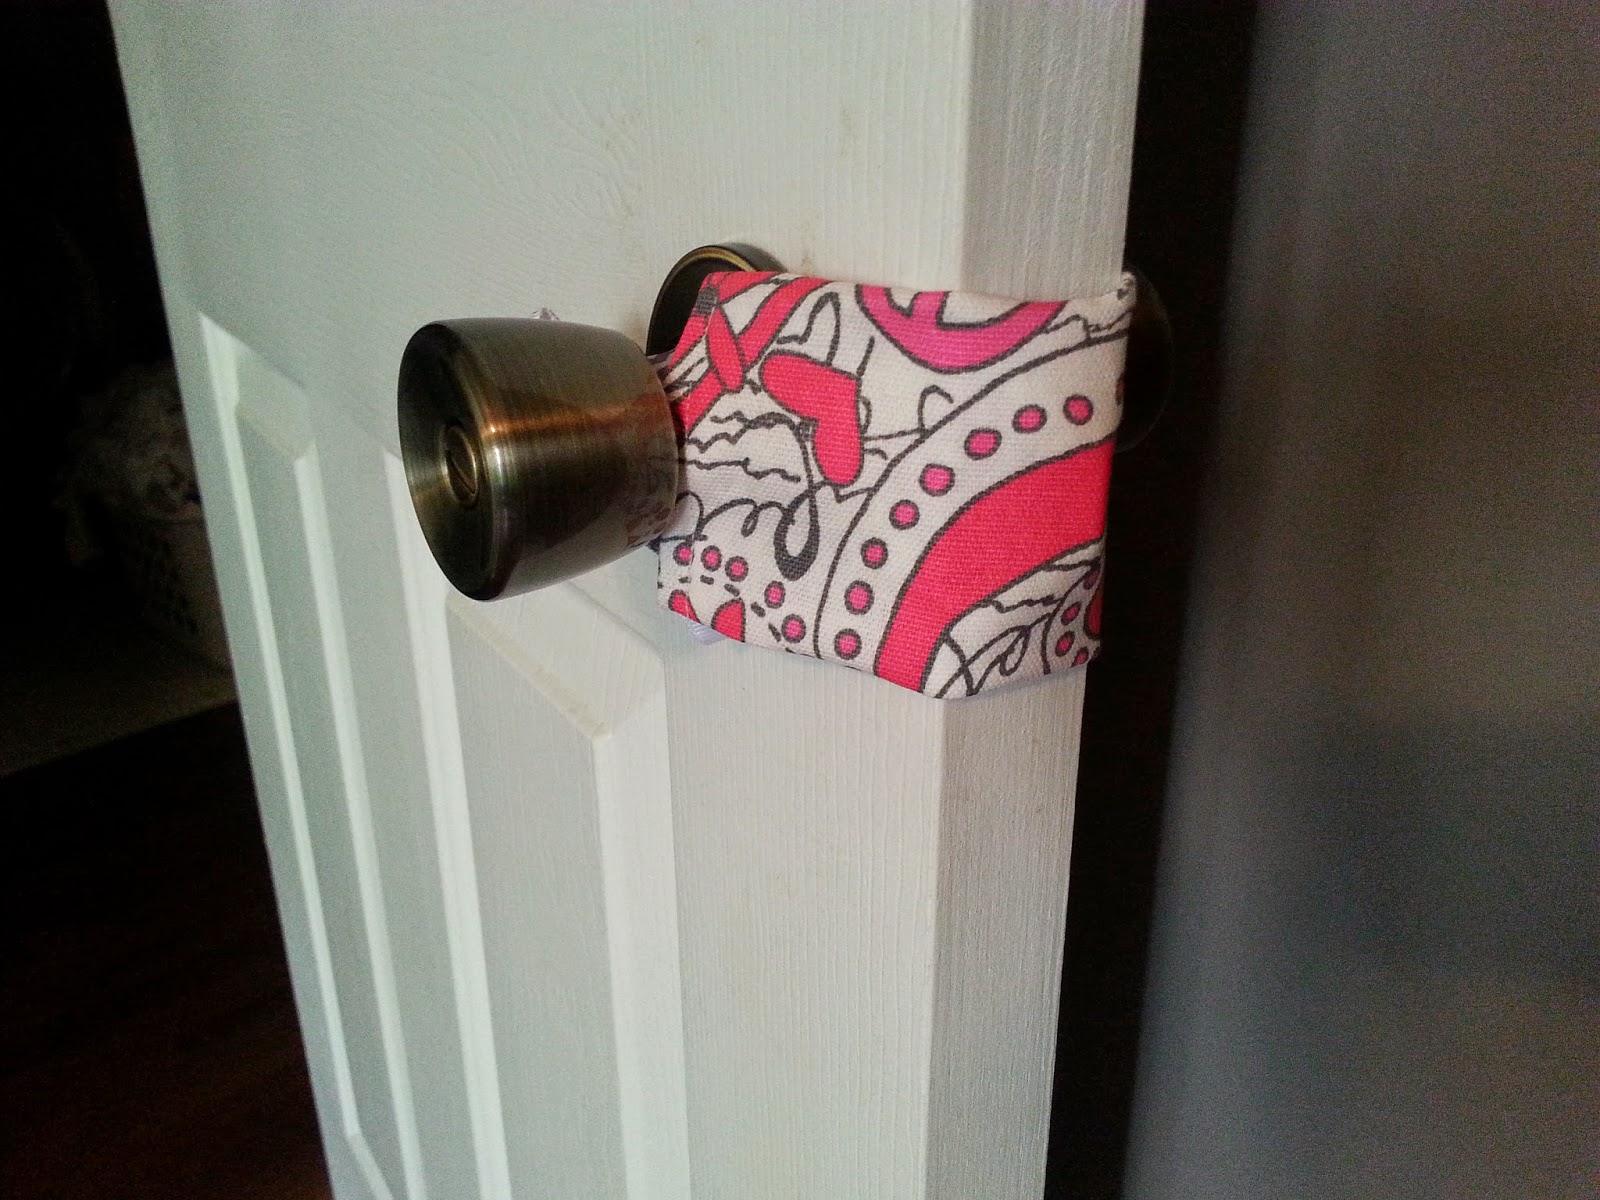
Thursday, June 5, 2014

DIY Door Jammer

DIY Door Jammer!!


This is the first thing that I have created for Charlotte's nursery!  I am so excited to share this idea that I found on Pinterest so that you could possibly create your own.  I had to gather supplies first so you will need the following materials before you can get started: Cute decorative fabric(I used duck fabric, it tends to be more durable and last a little longer), matching ribbon, tape measure, scissors, pins, and a sewing machine.  This is such a simple project that you could possibly make it by hand sewing as well!  


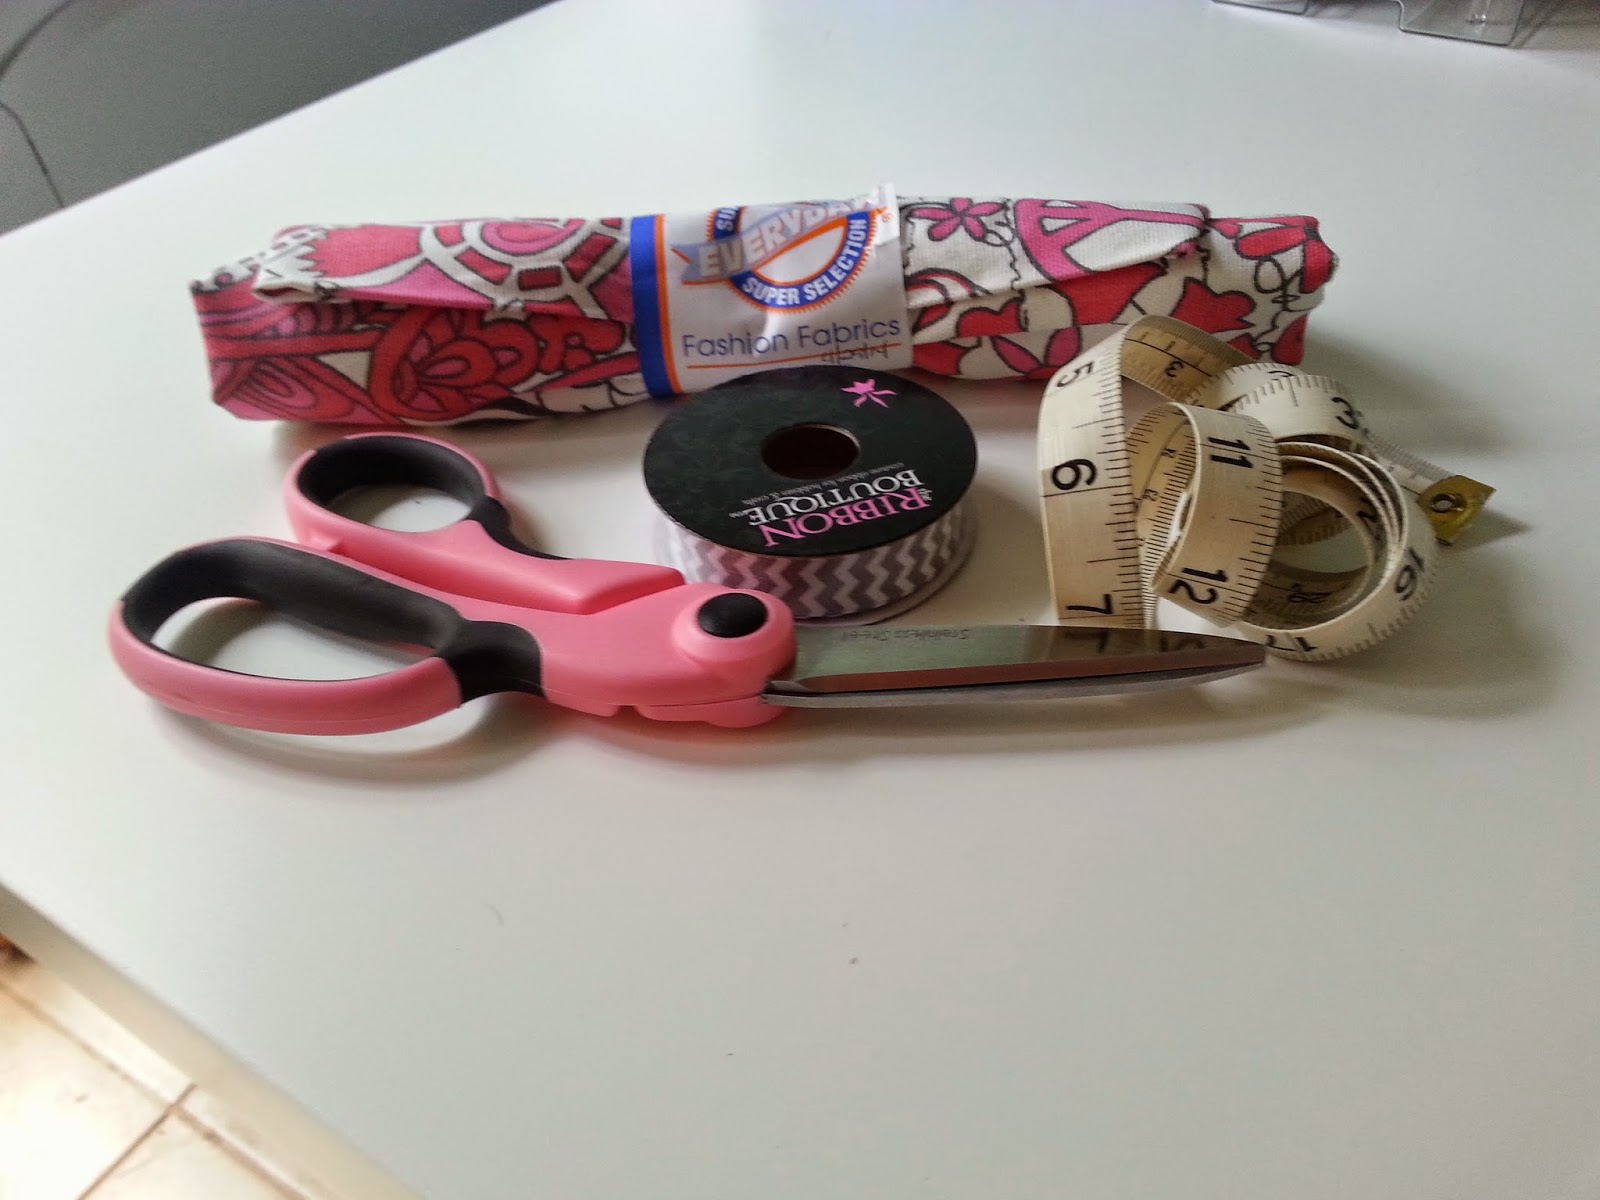
Step 1: Cut your fabric into a 6" by 7" rectangle.


Step 2: Fold lengthwise so that the 7" sides are touching, you also want to make sure that the patterned sides are face each other. Then sew together!


Step 3: Cut the ribbon into 4 8" lengths. Then pin two pieces of ribbon onto each open side of the fabric.  I folded my raw edges in to create a finished look before I pinned the ribbon into place.

Step 4:  Sew the ribbon and the open edges together! Repeat this to both sides of your rectangular fabric.


Step 5:  To create a more appealing look with my ribbon, I cut the edges at an angle. Voila! 


Step 6: Tie to your door and admire your handy work.  It only takes about 15 minutes to make and adds a personal touch to the room!!